
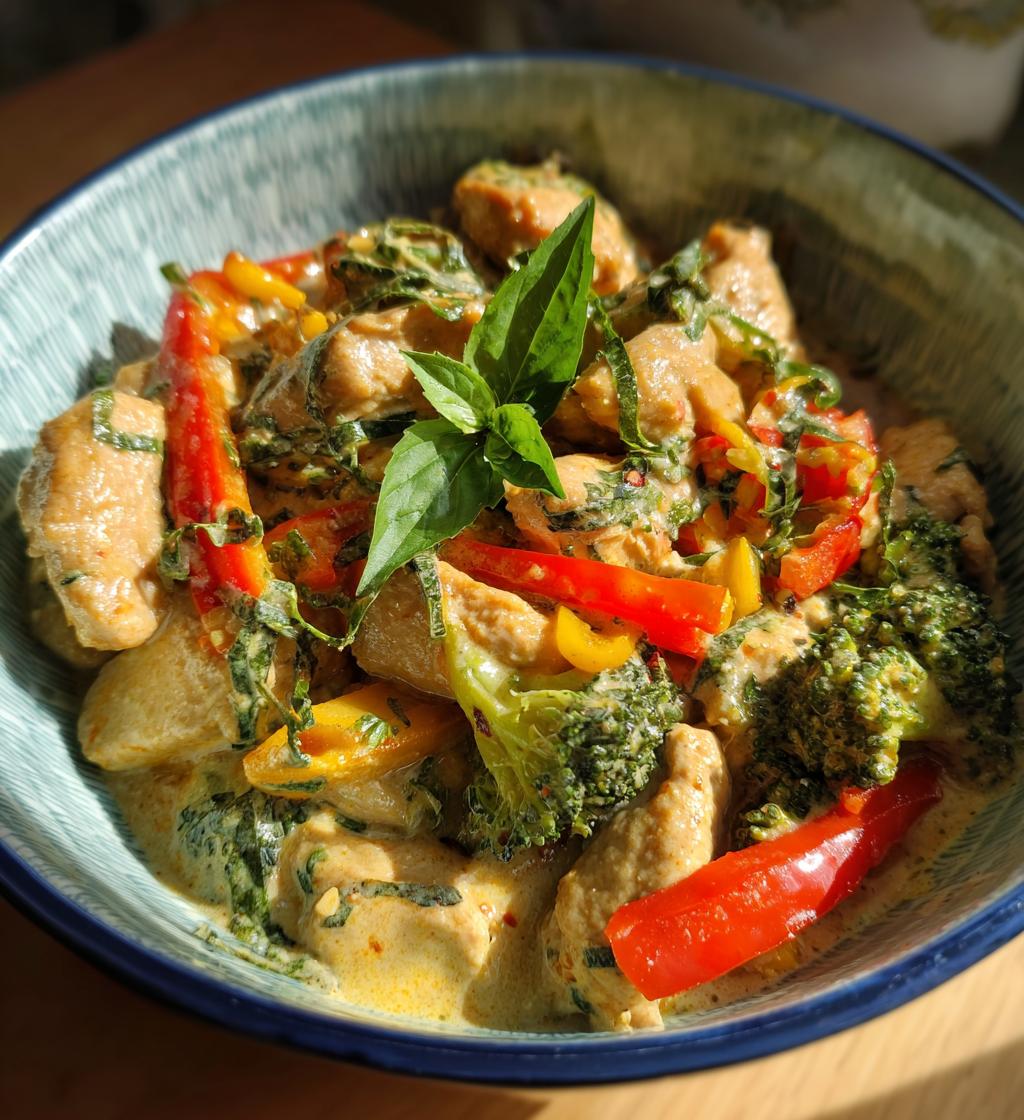
Oh, let me tell you, there’s just something magical about Thai chicken dishes! The way those aromatic spices dance together creates a flavor explosion that makes dinner feel like a celebration. This recipe, in particular, stands out because it’s super quick to whip up—perfect for busy weeknights, yet it tastes like you slaved away in the kitchen for hours. Trust me, your taste buds will thank you!
I remember the first time I made this Thai chicken for my friends. The kitchen was filled with the most intoxicating scents of ginger and garlic, and I could barely contain my excitement. When I served it, their eyes lit up with delight! We all ended up going back for seconds, and I realized then how simple ingredients could create such a warm, inviting experience. So, roll up your sleeves, and let’s dive into this deliciousness together!
Ingredients List
Here’s what you’ll need to create this delightful Thai chicken dish. I promise you’ll find everything in your local grocery store!
- 1 lb chicken fillet, sliced
- 2 tbsp soy sauce
- 1 tbsp fish sauce
- 1 tbsp lime juice
- 2 cloves garlic, minced
- 1 tbsp ginger, grated
- 1 tsp red curry paste
- 1 cup coconut milk
- 1 cup bell peppers, sliced
- 1 cup broccoli florets
- 2 tbsp vegetable oil
- Fresh basil for garnish
Make sure to gather these ingredients before you start cooking. Trust me, having everything prepped and ready to go makes the process so much smoother and enjoyable!
How to Prepare Thai Chicken
Alright, let’s get cooking! This method is super straightforward, and I promise you’ll be savoring your Thai chicken in no time. Follow these steps, and you’ll have a dish bursting with flavor that’ll impress your family or friends!
Step-by-Step Instructions
- Heat the oil: Start by heating 2 tablespoons of vegetable oil in a large pan over medium heat. You want it nice and hot, but not smoking—about 2 minutes should do the trick.
- Sauté garlic and ginger: Once the oil is hot, add 2 cloves of minced garlic and 1 tablespoon of grated ginger. Sauté for about 1 minute, just until they release their lovely aromas. Careful, it can splatter a bit!
- Add the chicken: Next, toss in your 1 lb of sliced chicken fillet. Cook it for about 5-7 minutes, stirring occasionally, until the chicken is golden brown and cooked through. You want it tender, not tough!
- Stir in sauces: Now, pour in 2 tablespoons of soy sauce, 1 tablespoon of fish sauce, and 1 tablespoon of lime juice. Stir everything together and let it simmer for a minute to combine those flavors.
- Add the curry paste and coconut milk: Time for the magic! Add 1 teaspoon of red curry paste and 1 cup of coconut milk. Mix well, and let it simmer for another 2-3 minutes. This is where the dish gets creamy and rich!
- Incorporate the veggies: Finally, fold in 1 cup of sliced bell peppers and 1 cup of broccoli florets. Let everything simmer for about 5 minutes, or until the veggies are tender but still vibrant. You want that perfect crunch!
- Garnish and serve: When it’s done, take it off the heat and garnish with fresh basil. Serve your Thai chicken over rice or noodles, and get ready for the compliments!
And there you have it! Just follow these steps, and you’ll whip up a delicious Thai chicken dish that’ll have everyone coming back for more.
Why You’ll Love This Recipe
- Quick Preparation: With just 15 minutes of prep and 20 minutes of cook time, you can have a delicious meal on the table in under 35 minutes!
- Flavor Explosion: The combination of garlic, ginger, and coconut milk creates a rich and aromatic dish that’s simply irresistible.
- Customizable: Adjust the spice level by adding more or less curry paste to fit your taste preferences.
- Diet-Friendly: This Thai chicken is gluten-free and can easily be made vegetarian by swapping chicken for tofu.
- Family-Friendly: It’s a crowd-pleaser that both kids and adults will love, making it perfect for family dinners.
Tips for Success
- Prep Ahead: Take a few minutes to chop and measure your ingredients before you start cooking. It’ll save you time and keep things flowing smoothly!
- Use Fresh Ingredients: Fresh garlic and ginger make a world of difference in flavor. Don’t skimp on quality—they’re the stars of the show!
- Adjust Spice Levels: If you’re not sure about the heat, start with less red curry paste and add more later. It’s easier to add than to take away!
- Don’t Overcook the Veggies: Keep that vibrant color and crunch! Add your bell peppers and broccoli towards the end of cooking to maintain their texture.
- Let it Rest: After cooking, let your Thai chicken sit for a few minutes before serving. This allows the flavors to meld together beautifully.
- Experiment with Garnishes: Fresh herbs like cilantro or a squeeze of lime juice can elevate your dish. Try different toppings to find your favorite combination!
- Serve it Right: This dish shines best over a bed of jasmine rice or rice noodles. The creamy sauce is perfect for soaking up every last bite!
Variations
Now, let’s talk about ways you can customize this Thai chicken dish to suit your taste! One of the best parts about cooking is making it your own, right? Here are some fun ideas:
- Protein Swaps: If you’re in the mood for something different, try swapping the chicken for shrimp or firm tofu. Both options absorb the flavors beautifully!
- Veggie Medley: Feel free to toss in other veggies like snap peas, carrots, or even baby corn. The more colors, the better!
- Spice it Up: Want more heat? Add some sliced red chili or a dash of sriracha. For a milder version, skip the red curry paste altogether.
- Herb Infusion: Instead of just basil as a garnish, consider adding fresh cilantro or mint for an extra burst of freshness.
- Nutty Twist: Sprinkle some crushed peanuts or cashews on top before serving for added crunch and flavor.
These variations let you put your personal touch on this amazing dish, so don’t hesitate to get creative! Enjoy experimenting!
Storage & Reheating Instructions
Got leftovers? Lucky you! This Thai chicken dish stores beautifully. Just let it cool down to room temperature, then transfer it to an airtight container. It’ll keep in the fridge for up to 3 days. If you want to save it for later, you can freeze it for up to a month. Just make sure to thaw it completely in the fridge before reheating.
To reheat, simply pop it in the microwave for a couple of minutes, stirring halfway through, or heat it gently in a pan over low heat. Just be careful not to overcook it, or you might lose that tender, juicy goodness!
Nutritional Information
Before we get into the numbers, keep in mind that nutritional values can vary based on the specific ingredients and brands you use. That said, here’s a general idea of what you can expect in a typical serving of this delicious Thai chicken dish:
- Calories: 350
- Fat: 20g
- Protein: 30g
- Sodium: 800mg
- Carbohydrates: 8g
- Sugar: 3g
- Fiber: 2g
These values make this dish not only flavorful but also satisfying and nutritious! Enjoy your meal without the guilt!
FAQ Section
Q1. Can I use different proteins in this Thai chicken recipe?
Absolutely! This recipe is super versatile. You can easily swap out the chicken for shrimp, beef, or even tofu for a vegetarian option. Just adjust the cooking times accordingly to ensure everything is cooked perfectly!
Q2. What if I don’t have red curry paste?
No worries! If you don’t have red curry paste on hand, you can use yellow curry paste for a milder flavor or even a splash of hot sauce for some heat. Just remember to start with a small amount and adjust to your taste!
Q3. How spicy is this Thai chicken dish?
The spice level in this Thai chicken can be easily adjusted. If you prefer a milder dish, start with less red curry paste and add more as you go. You can also omit it altogether if you want a non-spicy version!
Q4. Can I make this dish in advance?
Yes! You can prepare this Thai chicken ahead of time. Cook it, let it cool, and store it in an airtight container in the fridge for up to 3 days. Just reheat it gently when you’re ready to enjoy it again!
Q5. What should I serve with this Thai chicken?
This dish pairs wonderfully with jasmine rice or rice noodles. You can also serve it alongside a fresh salad or some steamed veggies for a complete meal. Trust me, the creamy sauce is perfect for soaking up every last bite!
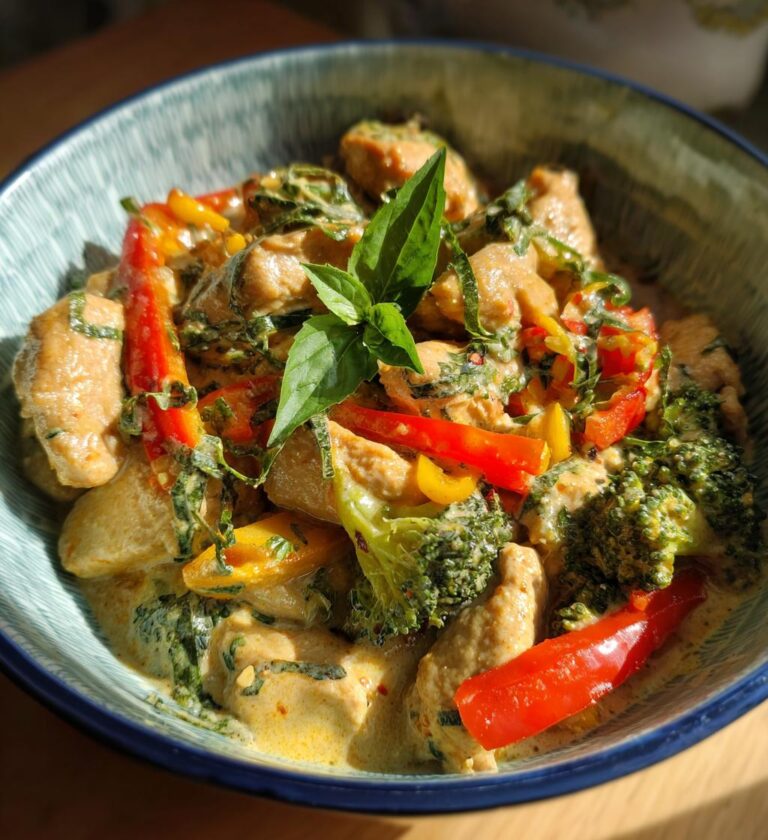
Thai Chicken: 7 Flavorful Steps for an Irresistible Meal
A flavorful Thai chicken dish with aromatic spices.
- Total Time: 35 minutes
- Yield: 4 servings 1x
Ingredients
- 1 lb chicken fillet, sliced
- 2 tbsp soy sauce
- 1 tbsp fish sauce
- 1 tbsp lime juice
- 2 cloves garlic, minced
- 1 tbsp ginger, grated
- 1 tsp red curry paste
- 1 cup coconut milk
- 1 cup bell peppers, sliced
- 1 cup broccoli florets
- 2 tbsp vegetable oil
- Fresh basil for garnish
Instructions
- Heat oil in a pan over medium heat.
- Add garlic and ginger, sauté for 1 minute.
- Add chicken, cook until browned.
- Stir in soy sauce, fish sauce, and lime juice.
- Add red curry paste and coconut milk, mix well.
- Add vegetables, simmer until tender.
- Garnish with fresh basil before serving.
Notes
- Serve with rice or noodles.
- Adjust spice level with more or less curry paste.
- Can substitute chicken with tofu for a vegetarian option.
- Prep Time: 15 minutes
- Cook Time: 20 minutes
- Category: Main Course
- Method: Stir-fry
- Cuisine: Thai
- Diet: Gluten Free
Nutrition
- Serving Size: 1 serving
- Calories: 350
- Sugar: 3g
- Sodium: 800mg
- Fat: 20g
- Saturated Fat: 10g
- Unsaturated Fat: 5g
- Trans Fat: 0g
- Carbohydrates: 8g
- Fiber: 2g
- Protein: 30g
- Cholesterol: 80mg
Keywords: Thai chicken, chicken stir-fry, coconut chicken