
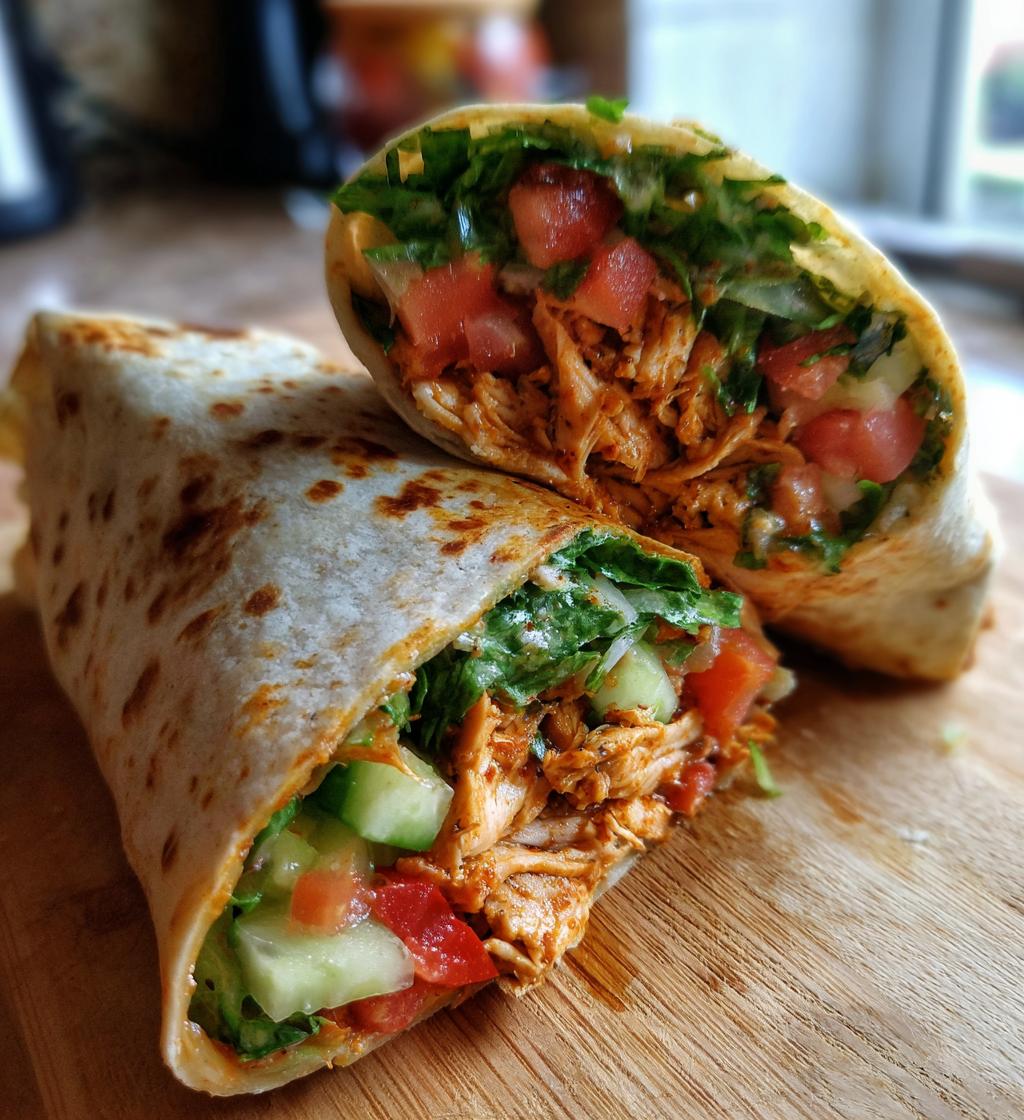
If you haven’t tried a Chicken Tikka Wrap yet, oh boy, are you in for a treat! This dish is all about vibrant flavors and satisfying textures, making it a favorite in my house. The marriage of marinated chicken, fresh veggies, and creamy yogurt all wrapped up in a warm tortilla creates a delicious experience that never fails to impress. Trust me, once you take that first bite, you’ll be hooked on the spicy, aromatic goodness of the tikka masala and the crunch of the fresh cucumber and lettuce. I love whipping up these wraps for quick weeknight dinners or even for picnics – they’re super easy to make and always a hit with family and friends. Plus, you can customize them to fit your taste! So, roll up your sleeves and let’s dive into making the best Chicken Tikka Wrap you’ll ever have!
Ingredients List
Gathering the right ingredients is key to making a mouthwatering Chicken Tikka Wrap! Here’s what you’ll need:
- 500g chicken fillet, cubed
- 2 tablespoons tikka masala paste
- 4 large tortillas
- 1 cup lettuce, shredded
- 1 tomato, diced
- 1/2 cucumber, sliced
- 1/4 cup yogurt
- 1 tablespoon lemon juice
- Salt to taste
These fresh ingredients come together to create a wrap that’s bursting with flavor and texture. You can even make some simple substitutions to cater to your preferences!
How to Prepare Chicken Tikka Wrap
Making a Chicken Tikka Wrap is a straightforward process that’s as rewarding as it is delicious. Just follow these steps, and you’ll be enjoying your wraps in no time!
Marinating the Chicken
First things first, let’s get that chicken marinated! In a bowl, combine your cubed chicken with the tikka masala paste. Make sure each piece is well-coated; you want that flavor to seep in. Cover the bowl and let it marinate for at least 30 minutes. If you have more time, letting it sit for a couple of hours in the fridge works wonders for flavor. Just remember, the longer it marinates, the more flavorful it’ll be!
Cooking the Chicken
Once your chicken is beautifully marinated, it’s time to cook! Heat a skillet over medium heat. Once it’s hot, add the marinated chicken and cook for about 8-10 minutes. Make sure to stir occasionally to ensure even cooking. You’ll know it’s done when the chicken is no longer pink in the center and has that lovely golden color. Trust me, the aroma will have your mouth watering!
Preparing the Tortillas
While the chicken is cooking, let’s warm up those tortillas! I like to heat them in a separate pan for about 15-30 seconds on each side until they’re soft and pliable. This step makes a huge difference in how well you can wrap them later. If you’re in a rush, you can also pop them in the microwave for about 10-15 seconds, but I find the skillet method gives a better texture.
Assembling the Wraps
Now comes the fun part! Take your warm tortilla and spread a generous spoonful of yogurt mixed with lemon juice on it. This creamy layer adds a nice tang that balances the spices. Next, layer in your shredded lettuce, diced tomato, sliced cucumber, and finally, the cooked chicken. Don’t be shy – pile it on for a hearty wrap!
Wrapping and Serving
To wrap it up, fold in the sides of the tortilla first, then tightly roll it from the bottom up. You want to ensure everything stays inside, so give it a nice, snug wrap. Once you’ve got it all wrapped up, serve immediately while it’s still warm. I like to slice mine in half for a beautiful presentation and easier eating. Enjoy the burst of flavors with every bite!
Why You’ll Love This Chicken Tikka Wrap
- Quick to Make: With just a few simple steps, you can whip up these wraps in about 45 minutes, making them perfect for busy weeknights.
- Full of Flavor: The combination of tikka masala, fresh veggies, and creamy yogurt creates a flavor explosion that will have your taste buds dancing!
- Healthy Option: Packed with protein from the chicken and loaded with fresh vegetables, these wraps are a nutritious choice that won’t weigh you down.
- Customizable: Whether you want to spice things up or keep it mild, you can easily adjust the ingredients to suit your taste. Try swapping chicken for paneer or adding your favorite veggies!
- Great for Meal Prep: These wraps are perfect for meal prepping, too! Make a batch ahead of time, and you’ll have delicious, ready-to-go lunches for the week.
Tips for Success
Want to take your Chicken Tikka Wrap game to the next level? Here are some pro tips that’ll help you nail these delicious wraps every time!
Adjusting Spice Levels
If you’re sensitive to spice, don’t worry! You can easily adjust the heat level. Start with a mild tikka masala paste or use half the amount and add more gradually to taste. If you love heat, feel free to kick it up a notch with some chopped fresh chilies or a sprinkle of cayenne pepper in your marinade. Just remember, you can always add more, but you can’t take it away!
Substituting Ingredients
For a vegetarian twist, swap the chicken for paneer or even roasted chickpeas! Both options absorb the marinade beautifully and deliver that satisfying texture. If you’re looking for a lighter wrap, consider using grilled vegetables like zucchini or bell peppers. They add a lovely smokiness that complements the tikka flavors.
Choosing the Right Tortillas
While I love using regular flour tortillas, you can switch it up with whole wheat or gluten-free tortillas. Just make sure they’re large enough to hold all your yummy fillings. I find that whole wheat tortillas add a nuttier flavor, which works great with the spiciness of the tikka!
Making Ahead and Freezing
If you’re planning a busy week, prep your marinated chicken ahead of time and store it in the fridge for up to 24 hours. You can even freeze the marinated chicken for later – just make sure to thaw it in the fridge overnight before cooking. As for the wraps, I recommend assembling them fresh for the best texture, but you can store any leftovers wrapped tightly in foil or plastic wrap in the fridge for up to two days.
Experimenting with Sauces
Feeling adventurous? Try adding different sauces to your wraps! A drizzle of spicy mango chutney or a sprinkle of cilantro-mint sauce can elevate your Chicken Tikka Wrap to a whole new level. The sweetness of the chutney perfectly balances the spices, while the freshness of the mint sauce adds a burst of flavor.
With these tips in your back pocket, you’ll be whipping up Chicken Tikka Wraps that are not only delicious but tailored to your taste! Enjoy the journey of creating these flavorful wraps!
Variations of Chicken Tikka Wrap
One of the best things about a Chicken Tikka Wrap is how versatile it is! You can easily mix things up and customize it to fit your mood or dietary preferences. Here are some fun ideas to get your creative juices flowing:
Swap the Protein
If chicken isn’t your thing or you’re looking for a change, you can substitute it with various proteins! Try using paneer for a vegetarian option – just marinate and cook it the same way as the chicken for that delicious tikka flavor. Grilled shrimp also works wonderfully if you love seafood; the quick cooking time keeps them juicy and tender. For a heartier option, consider using tofu or even beef strips marinated in the same spices for a unique twist!
Extra Veggies Galore
Don’t forget to amp up the veggie factor! You can add grilled bell peppers, zucchini, or carrots for a colorful crunch. I love tossing in some spinach or arugula for extra nutrients and flavor. Feel free to get creative with whatever veggies you have on hand – even roasted sweet potatoes or corn can add a delightful sweetness!
Different Sauces and Spreads
If you want to elevate your wrap, try experimenting with different sauces! A drizzle of cilantro-mint chutney adds a refreshing twist, while spicy mayo can give it that extra kick. For something creamy, try a tzatziki sauce – the yogurt and cucumber combo is just divine. You can even use hummus as a spread for a Middle Eastern flair!
Wrap It Up in Different Styles
Why stick to tortillas? You can use pita bread for a fun pocket-style wrap or even lettuce leaves for a low-carb option. If you’re feeling adventurous, try making a quesadilla with the same fillings – just grill it until golden and melty for a delicious twist on the classic wrap!
With these variations, your Chicken Tikka Wrap can be a new experience every time you make it. So, don’t be afraid to play around and find your perfect combination of flavors and textures!
Storage & Reheating Instructions
Leftovers from your Chicken Tikka Wrap? No problem! Proper storage and reheating will keep them tasting just as delicious as the day you made them. Here’s how to do it:
Storing Leftovers
Once you’ve enjoyed your wraps, any leftovers should be wrapped tightly in foil or plastic wrap. This helps retain moisture and keeps the wraps fresh. You can also use an airtight container if you prefer. Store them in the refrigerator, where they’ll stay good for up to two days. Just remember, the fresher, the better!
Reheating the Wraps
When it’s time to enjoy those tasty leftovers, you’ll want to reheat them carefully to avoid a soggy wrap. The best method is to use a skillet. Simply preheat a non-stick skillet over medium heat and place the wrap in it. Heat for about 2-3 minutes on each side until the wrap is warmed through and slightly crispy. You’ll love that little crunch!
If you’re in a hurry, the microwave is an option, too. Just pop the wrap on a microwave-safe plate and cover it with a damp paper towel. Heat for about 30-45 seconds, but keep an eye on it to prevent overcooking. The goal is to warm it up without making it tough. Remember, though, the skillet method brings back that original texture, so it’s worth the extra couple of minutes!
With these storage and reheating tips, you can savor your Chicken Tikka Wraps again without missing a beat. Enjoy every delicious bite!
Nutritional Information Disclaimer
While I strive to provide accurate nutritional information for my Chicken Tikka Wrap, it’s important to note that these values can vary based on specific ingredients, brands, and preparation methods. The nutritional content may differ based on the type of tortillas you use, the exact quantities of each ingredient, and any substitutions you might make. Always consider checking the labels of your ingredients for the most precise data. Remember, cooking is all about experimenting and making it your own, so enjoy your wraps in moderation and have fun with the flavors!
Frequently Asked Questions about Chicken Tikka Wrap
Q1. Can I make Chicken Tikka Wraps ahead of time?
Absolutely! You can marinate the chicken a day in advance and keep it in the fridge. Just cook it fresh when you’re ready to assemble the wraps. If you want to prep the whole wrap, I recommend storing the ingredients separately to avoid sogginess. Assemble them right before serving for the best texture!
Q2. What can I use instead of chicken?
If you’re looking for a vegetarian option, paneer is a fantastic substitute! You can also use grilled vegetables, like bell peppers and zucchini, or even chickpeas for a protein-packed wrap. Just make sure to adjust the cooking time accordingly based on the protein you choose.
Q3. Is this wrap spicy?
It all depends on the tikka masala paste you use! Some brands are milder than others. If you’re concerned about spice levels, start with a small amount of paste and taste as you go. You can always add more if you like it hot, or dilute it with extra yogurt to balance the heat.
Q4. How can I store leftovers?
Store any leftover Chicken Tikka Wraps in an airtight container in the fridge for up to two days. If you’re storing the components separately, wrap the tortillas in foil or plastic wrap and keep your filling in a sealed container. This will help keep everything fresh and delicious!
Q5. Can I freeze Chicken Tikka Wraps?
Yes! You can freeze the marinated chicken before cooking, which is a great time-saver. However, I recommend assembling the wraps fresh and not freezing them after they’ve been made, as the tortillas can get soggy once thawed. Enjoy them fresh for the best taste!
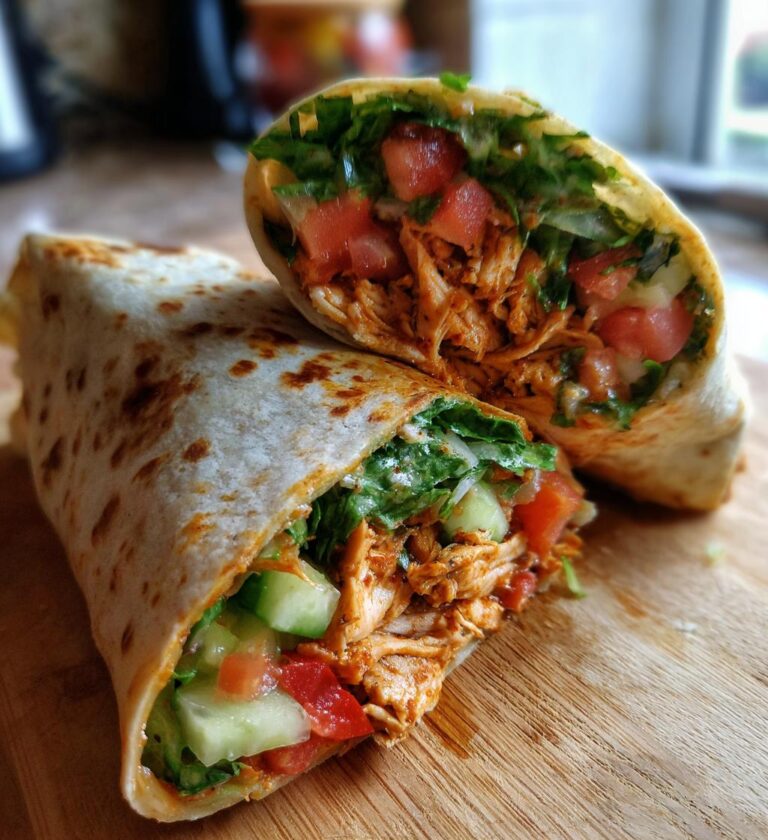
Chicken Tikka Wrap: 5 Reasons You’ll Love This Flavor Burst
A delicious Chicken Tikka Wrap filled with marinated chicken and fresh vegetables.
- Total Time: 45 minutes
- Yield: 4 wraps 1x
Ingredients
- 500g chicken fillet, cubed
- 2 tablespoons tikka masala paste
- 4 large tortillas
- 1 cup lettuce, shredded
- 1 tomato, diced
- 1/2 cucumber, sliced
- 1/4 cup yogurt
- 1 tablespoon lemon juice
- Salt to taste
Instructions
- Marinate chicken with tikka masala paste for at least 30 minutes.
- Cook chicken in a skillet over medium heat until fully cooked.
- Warm tortillas in a separate pan.
- Spread yogurt and lemon juice over each tortilla.
- Add lettuce, tomato, cucumber, and cooked chicken on top.
- Wrap tortillas tightly around the filling.
- Serve immediately.
Notes
- Adjust spice level according to preference.
- Can substitute chicken with paneer for a vegetarian option.
- Use whole wheat tortillas for a healthier choice.
- Prep Time: 30 minutes
- Cook Time: 15 minutes
- Category: Main Course
- Method: Grilling
- Cuisine: Indian
- Diet: Gluten Free
Nutrition
- Serving Size: 1 wrap
- Calories: 350
- Sugar: 3g
- Sodium: 600mg
- Fat: 10g
- Saturated Fat: 3g
- Unsaturated Fat: 5g
- Trans Fat: 0g
- Carbohydrates: 45g
- Fiber: 4g
- Protein: 25g
- Cholesterol: 70mg
Keywords: Chicken Tikka Wrap